

What is H3 Image, and where do you start?
H3 Image on this page uses P-H3-Image, an image generation and editing model developed by Pruna AI from MiniMax-H3. Its weights are publicly available under the MiniMax H3 Community License, which has its own conditions. Here you can create from text or edit with up to nine ordered images, choosing resolutions from 1K to 4K.
The most useful starting point is a picture you can describe to another person. Name the subject, say what it is doing, and put it somewhere specific. A ceramic cup beside a rain-covered window is easier to develop than a request for something beautiful and impressive. Add the kind of image you want: a studio photograph, an editorial illustration or a quiet architectural study. These choices give the scene a purpose before you start polishing individual details.
Next, choose the detail that makes the picture yours. Perhaps the cup has a curved handle, the window faces a small courtyard, or the light should feel like an overcast morning. You do not need to describe every surface. Leave room for a coherent composition rather than filling the prompt with competing instructions. When you review the result, ask whether it communicates your original idea before deciding whether it needs more detail.
Create from words or work from a photograph
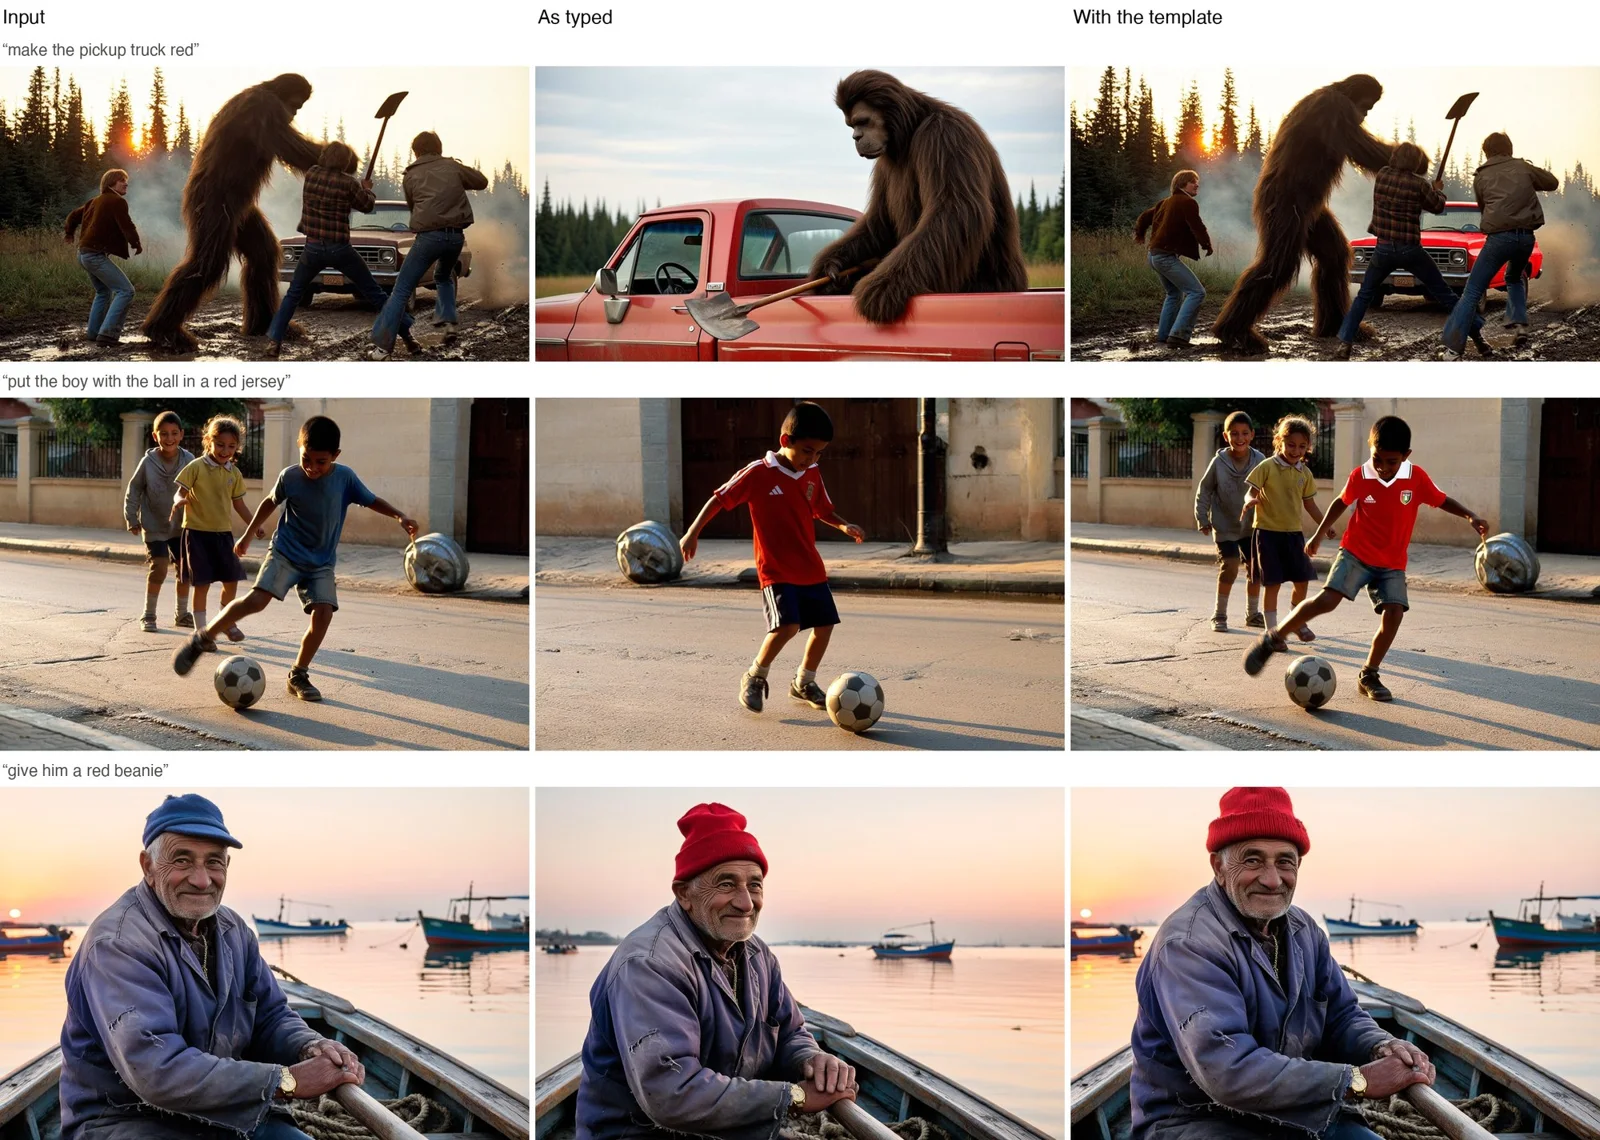
Use the creation mode when you want to explore a scene without an existing picture. It is a good starting point for mood boards, fictional environments and visual concepts whose exact arrangement is still open. Use the editing mode when you already have an image and want to describe a change. Upload a reference, then explain the desired result. The reference gives the request a visual starting point, but it does not turn every instruction into a perfectly isolated adjustment.
For an H3 Image edit, distinguish the thing to change from the things to preserve. You might ask for a pale blue backdrop while keeping the cup, viewpoint and soft shadow. Start with a single meaningful change so that you can judge what happened. If the result also alters a label or an edge, include that observation in your next instruction. Treat each edited image as a new version to inspect, rather than assuming that untouched areas will always remain identical.
Choose the frame before you compose the scene
A square frame gives a centered subject a balanced place to sit. Landscape framing leaves room for an environment, a second object or space beside the subject. Portrait framing can suit a person, a tall arrangement or a mobile-first composition. Choose the shape for the place where the image will be used, not simply because a sample looks attractive. A compelling wide scene may lose its focal point when squeezed into a tall layout later.
Describe how the subject should occupy that space. For a landscape product scene, place the object on the right with a quieter background to the left. For a portrait, mention a little space above the head and avoid accidentally requesting a crop that cuts across important details. Framing is also a practical way to simplify a busy idea. If everything competes for attention, move the camera closer or remove a secondary object before adding another style instruction.
Build a product scene around believable light
For a product concept, describe the material and how the light meets it. A matte bottle on warm stone, photographed with soft side lighting, suggests a different result from a glossy bottle under a hard overhead spotlight. Mention the surface under the product so that shadows and reflections have somewhere believable to fall. Keep surrounding props purposeful: a folded cloth or a simple leaf can establish a mood without hiding the object you want people to notice.
Check the output against the actual product before using it publicly. Generated details may change a cap, a seam, a printed label or the shape of a handle. If exact product identity matters, start with your own photograph in editing mode and request a restrained background or lighting change. Even then, compare the result with the reference. A visually convincing concept is not proof that the product's dimensions, packaging claims or brand details have been reproduced accurately.
Give portraits a clear mood and a simple background
A portrait prompt becomes easier to evaluate when it describes an expression, a camera distance and a lighting direction. Instead of asking for a perfect portrait, try a relaxed seated subject, a softly lit room and a natural expression. Explain whether the image should feel candid, formal or illustrative. A quieter background helps you see whether the face, posture and clothing work together, particularly while you are still deciding on the overall direction.
When editing a photograph of a person, use an image you are entitled to work with and respect the person's consent. Ask for a specific change rather than a broad transformation if identity matters. Inspect facial details, hands, accessories and clothing after generation. A reference can guide the result, but exact likeness and unchanged features are not guaranteed. For a sensitive or important use, do not rely on a quick glance at a small preview to approve the image.
Use short text sparingly in a visual layout
If your concept includes lettering, keep the requested wording short and make its role clear. A small heading on a poster is a different problem from a whole page of readable copy. Put the intended words in quotation marks and describe their placement, leaving enough open space around them. Separate the visual style from the literal text so that a decorative description is less likely to be interpreted as additional wording in the picture.
Always read generated lettering carefully. Letters may be missing, repeated or shaped incorrectly even when the design looks convincing at first. For a finished announcement, a product label or a layout with important factual text, consider generating the visual background and adding the final typography in your design tool. That gives you direct control over spelling, accessibility and alignment. The H3 Image model can help develop the visual direction without being the final authority on what a document says.
Improve the next version with a smaller change
Before generating again, write down what already works. Keep those parts of the prompt stable and change the weakest element. If the lighting is right but the scene is crowded, reduce the props rather than rewriting the style, camera and subject at once. If the composition works but the material looks wrong, describe that material more concretely. This makes each revision a useful comparison instead of another unrelated image that happens to share a few words.
Save the versions that solve different parts of the brief and compare them at the size where they will actually be seen. A dramatic texture may be useful in a close crop but distracting in a small card. Watch for contradictions in your own request, such as a close-up that also needs a complete room or a flat illustration with elaborate photographic reflections. Removing an instruction can improve clarity just as much as adding one.
Review the result before taking it into your next project
Check the credit amount beside the generation button before submitting. Creating an image and editing a reference can have different credit costs, and each new request is a separate generation. While an image is being prepared, use the status shown in the workspace instead of sending the same request repeatedly. Returning to the page retrieves your latest request for this tool. If a request could not be confirmed, check its status rather than assuming it is safe to submit another one.
Once the image is ready, open it and review the edges, small objects, lettering and overall composition. Keep the original reference alongside an edited result so that unexpected changes are easier to spot. You can use a finished still as the starting point for a separate image-to-video workflow, but this workspace itself produces images, not sound or motion. Choose a result that is already clear and well composed before asking a video tool to develop it further.